Why, welcome to Wednesday! We’re on the approach to a holiday weekend here in the States. Tomorrow’s Independence Day, and for many, it’s the opportunity to take a long weekend and do summery things.
Perhaps you’ll be indulging in some stitching this weekend, too, and if so, here’s a little Stitch Fun tutorial that you might enjoy trying out.
This is a simple approach to making a very effective and really kind of cute scalloped, beaded edge. It’s fun, easy, and quick!
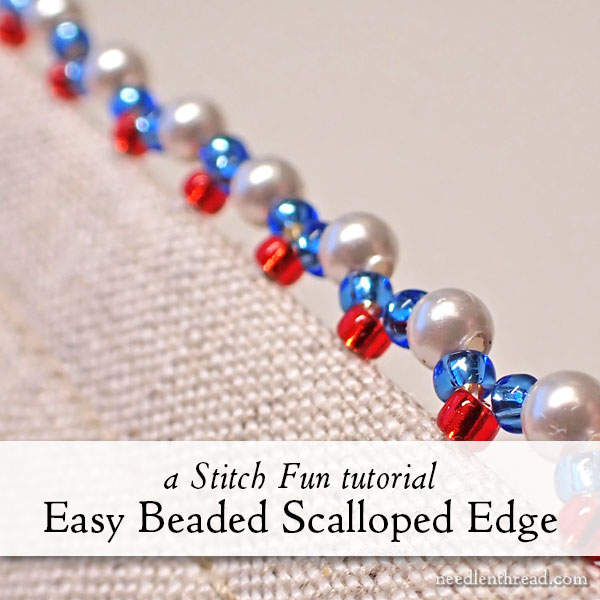
Isn’t that a cute little edge?
What can you use this type of edge on? Really, on any finished good that has an edge – as long as it’s not something a baby would chew on. I wouldn’t use it for a baby blanket or a baby fabric book or anything like that! But – ornaments, needlebooks, pincushions, boxes, and anything else with an edge is fair game!
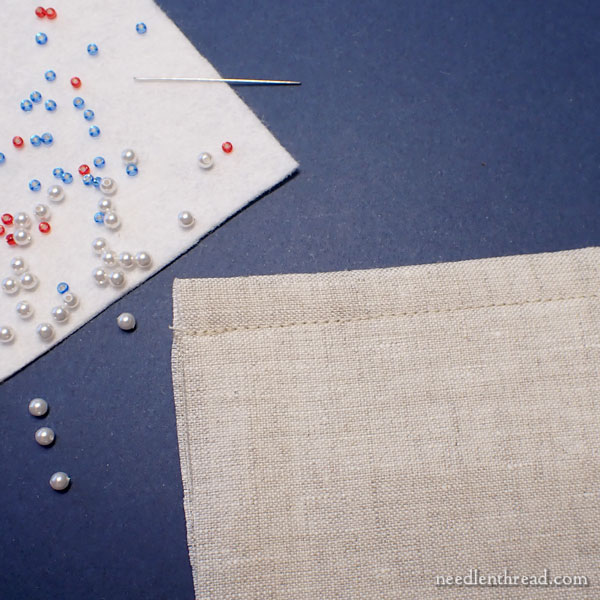
To work up the tutorial, I folded a scrap of linen with a bit of felt for interfacing inside the fold. I gathered some materials: 11/0 seed beads in red and blue, 3mm white pearl beads, a small beading needle, and some white hand-sewing (quilt weight) thread.
You can use your thread, beads, and needle of choice, of course. With the beads, the scalloped effect comes most into play because the center bead is decidedly larger than the side beads, so keep that in mind when choosing your beads. It helps to have a large center bead and smaller side beads.
You can make these scallops larger by increasing several aspects: the size of the center bead, the size of the side accent beads, the number of accent beads, and so forth. Just apply the concept to whatever goods you want to use to make your scallops.
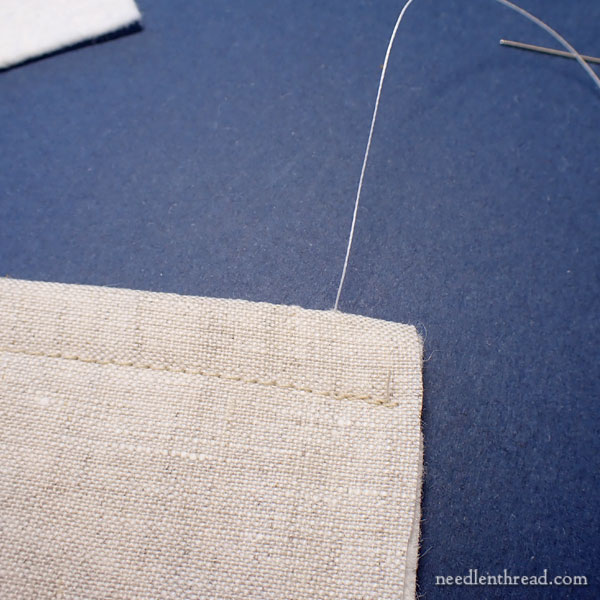
I began with a knot in the tail end of the thread, and brought the thread up, hidden inside the fold and through the top edge of the folded fabric.
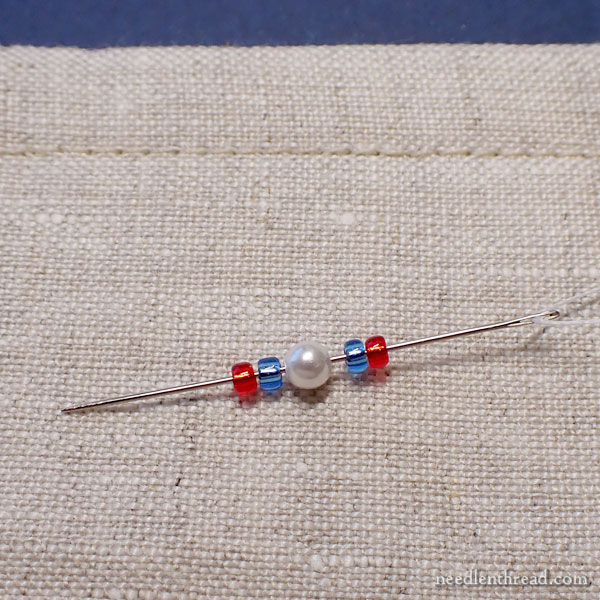
For the first scallop, slide all the beads onto your needle that you’ll be using to make up each scallop – in the order that they appear on the scallop!
In this case, I strung up red, blue, white, blue, and red.
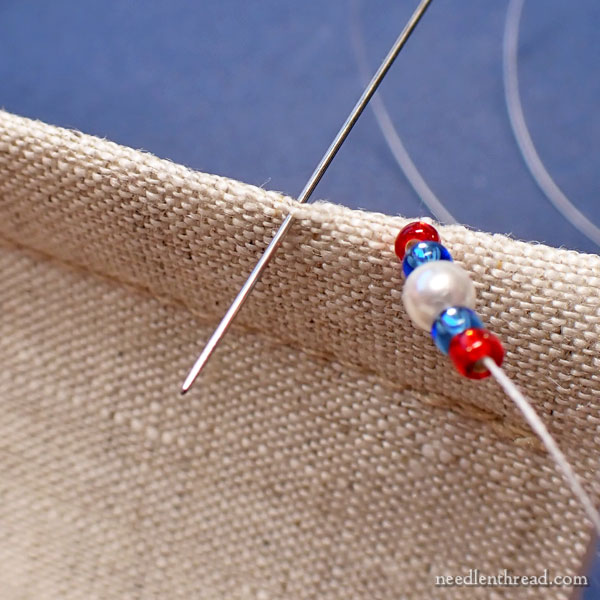
Determine where your scallop should end. You want it far enough away from the beginning of the stitch to cover some distance, but not so far that the bead line stretches out straight. You want it to stand up like a scallop.
For this particular configuration of beads, I found that 1/4″ was a perfect distance between the beginning and end of the scallop.
Pick up just a tiny bit of fabric on the top edge. Pass from the back of the top edge, out to the front, as shown above.
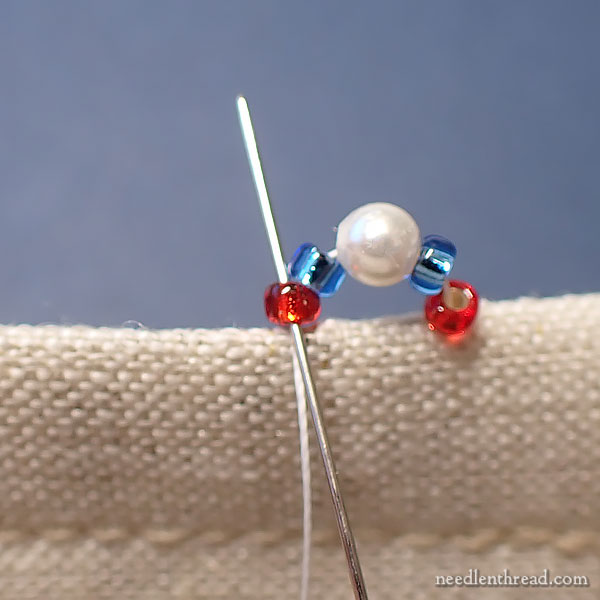
Pull through, and pull the thread just enough that the scallop sits snuggly on the top edge of the fabric.
Then, without passing back through the fabric, take the needle straight up into the last bead (in this case, the red bead). Do not pass into the blue bead – just pass back into the single, very last bead in the scallop.
This will situate that last bead onto the edge of the fabric as the foundation for the next scallop.
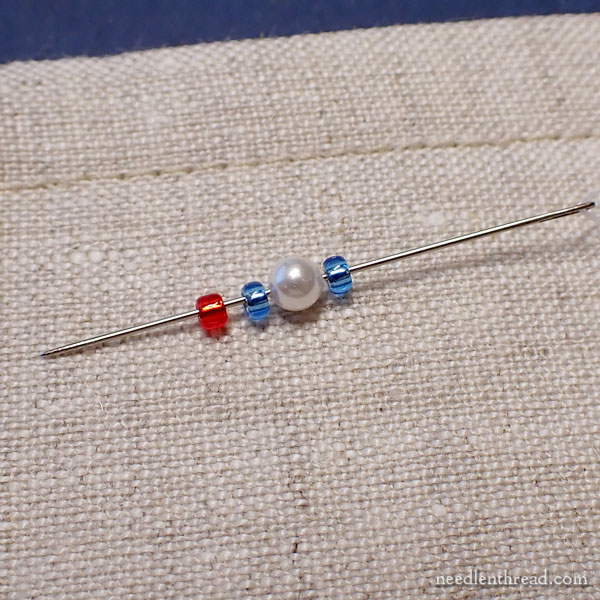
Now, string the next-scallop’s-worth of beads onto the needle. You will skip the first bead in the scallop sequence (in this case, the first red bead), because that bead is already on the fabric, holding the last spot on the previous scallop.
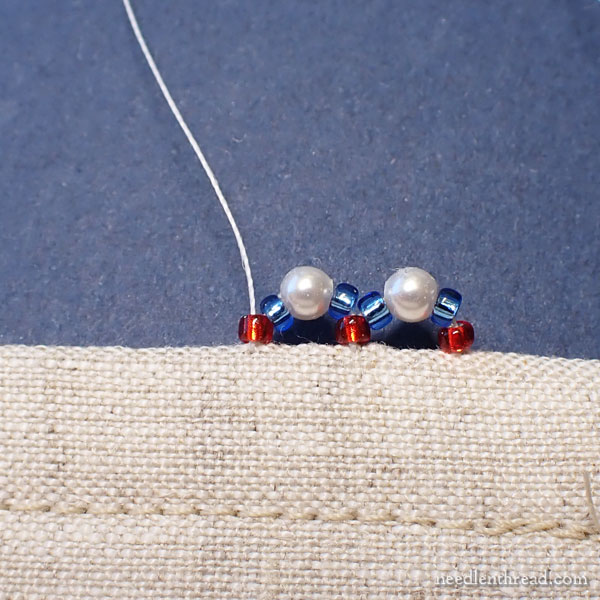
Move forward the length of the base of the scallop (1/4″ in my case, with this sample) and pick up a tiny bit of fabric on the edge again. Then pass up into the last bead, to finalize the scallop and fix the red bead in place.
Continue along the edge, picking up a tiny bit of fabric from back to front with each scallop, and always passing up in the last bead of the scallop.
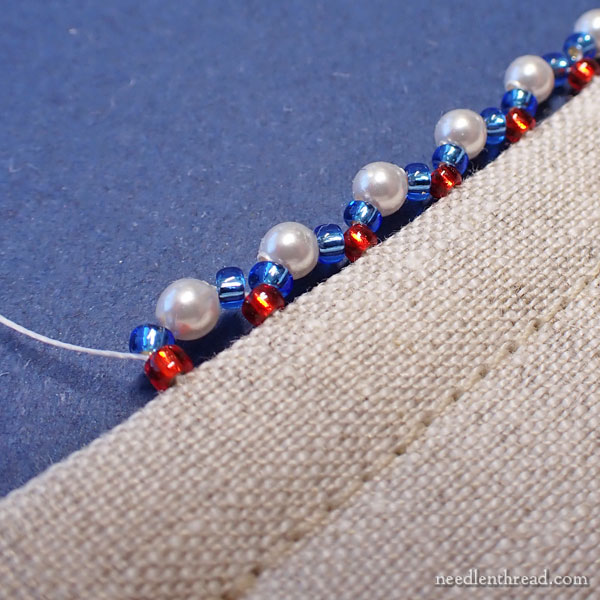
When you get to the point where you want to end your edging, and you’ve secured your final scallop in this position shown above, pass the needle back into the fabric just on the other side of the last bead, preferably towards the back of the bead.
This is going to create one thread that wraps around the outside of the bead, but it helps to keep that bead upright and in place, so that the final scallop looks even with the rest.
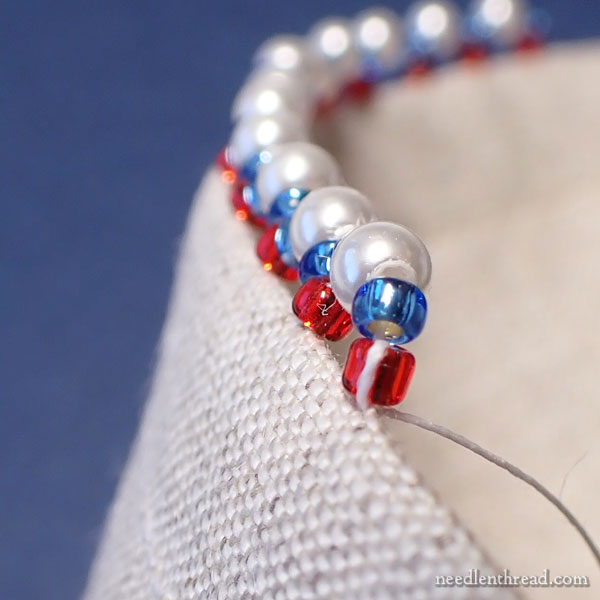
You can see that thread here. It looks remarkably noticeable because it is a close-up photo, and the thread is white against a red bead, but in fact, it’s on the back of the beaded line and it really isn’t all that noticeable.
End your thread as discreetly as possible by passing back into the fabric and taking some tiny tacking or holding stitches. Bring and the needle and thread back to the outside of the fold of the fabric, and cut the thread close.
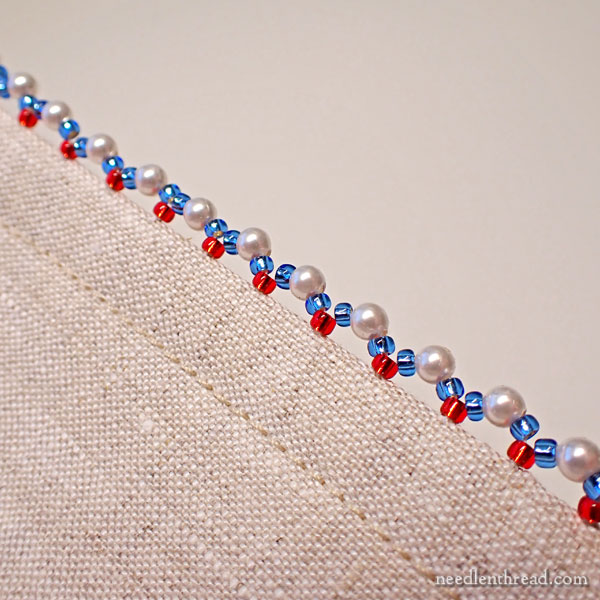
Quick!
Easy!
And pretty!
Looking for More?
If you’d like to explore more Stitch Fun tutorials, where we explore all kinds of embroidery stitches, combinations of stitches, and composite stitches just for the fun of it, you’ll find a grand list of embroidery tutorials available here in the Stitch Fun Index.
You can also find an index here for stitches that specifically involve beads, if you’re wanting to add a bit of sparkle to your embroidery.
You can also find two other beaded scalloped edge tutorials here on Needle ‘n Thread. They’re both made with buttonhole stitch:
Buttonhole Scalloped Beaded Edge – version 1
Buttonhole Scalloped Beaded Edge – version 2
I hope you enjoy today’s tutorial and have a chance to try it out!
Wishing all who are celebrating it, a safe and happy Independence Day! My big plans include a cookout with the fam and some fireworks (like every year) and (I’m so excited!) a 1940’s Swing Dance, live band and all. Woohoo!


Your timing is perfect – I just finished a little flag piece that needs an edge of some sort and I was going to attempt 3 colored cording. I like this better and the piece could use a bit of bling. Those colors look perfect for the flag – would you happen to know what colors those are? I assume the red and blue are size 11 seed beads. What size are the white pearl beads? It makes a very lacy but eye-catching effect. Thanks again for all you inspiration and information!