July 31, 2026
Weekend Diversion: Needle Lace and More
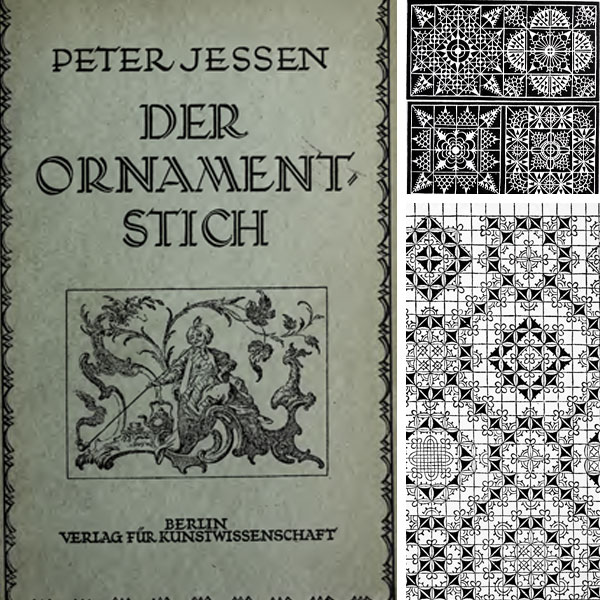
If you have not discovered Internet Archive for seeking out public domain publications on all kinds of topics – including needlework, design, and just about anything else – you should explore it some day!
Often, when I’m looking up information in old books, I’ll come across references to earlier publications that I’d never be able to see in person, except when I can find those references online in places like Internet Archive.
And often when I’m looking up something specific on Internet Archive, I’ll stumble across a little gem here and there that I find inspirational, interesting, amusing, or helpful.