Happy Friday!
I’ve been having a bit of fun in the studio! One of my favorite parts of a project is moving the project from a vague notion to a solid concept and then selecting materials that I think will work well to produce what I have in mind.
Even though we’re not even close to autumn (we’re closer than we were yesterday!), given the influx of unseasonably beautiful and almost chilly weather this morning, it’s perfect timing to talk about pulling supplies for this particular project Anna and I have been working on.
I’ll tell you how I go about the preliminaries of an embroidery project that may (or may not) make it to publication here on Needle ‘n Thread.

Putting the design process aside and assuming we’ve already addressed the design and potential color scheme, when it’s time to start test stitching and experimenting, the next step is the hunter-gatherer stage.
I like this part. It feels so … prehistoric.
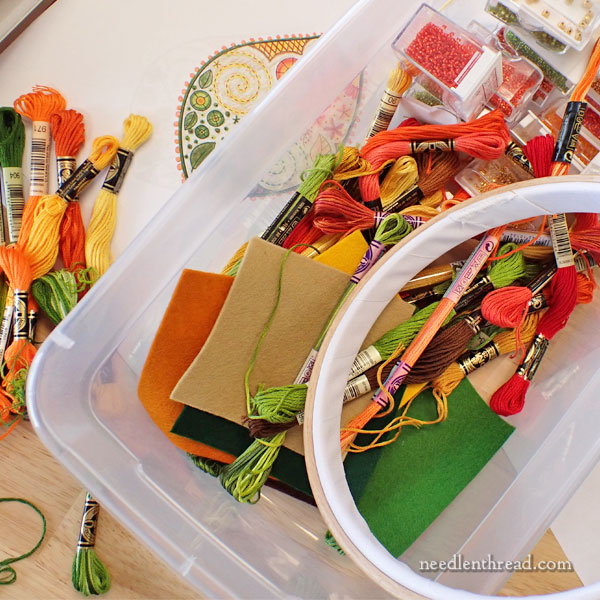
Two things are helpful at this stage: 1. real thread color cards; and 2. a tub.
Never underestimate the value of the real-thread color card. If you can acquire them (or make them) for your favorite threads, do it. If you do a lot of stitching and if you design your own pieces, you’ll never be sorry!
With the tub, we visit my thread cabinets and we start pulling out threads that fit the color scheme we’ve worked out. At this stage, I don’t really pay attention to the number of threads or to the nuances in shades. Some color families, for example, might be very bright and happy colors, while some might be a bit muddy. But that’s ok! It’s all fair game at this point.
Then we pull out my bead trays and start selecting beads that work with the color scheme (if we hope to use beads).
Then we go back to the work table, where we have some good light set up and the different types of ground fabric we’re considering.
Sometimes, I might be oscillating between a couple different types of ground fabric, and test stitching might be the only way to answer the question.
Under good light, we start laying out thread colors and beads on the fabric, narrowing down choices.
Then, we get rid of everything we know won’t work.

And then we’re ready to start experimenting!
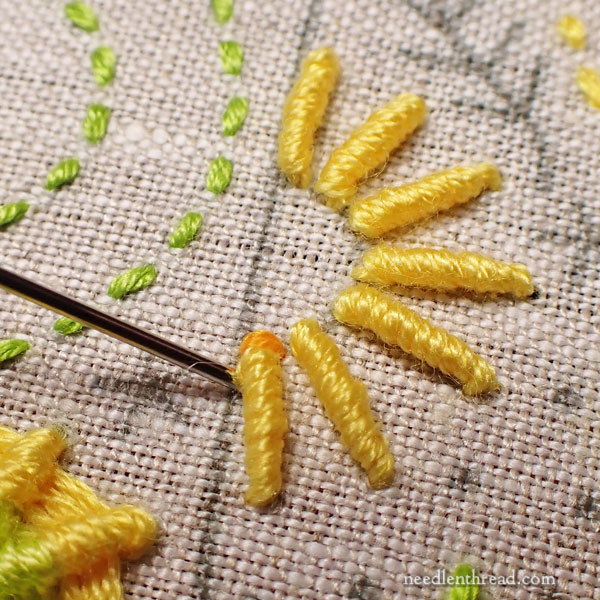
We transfer the design onto however many types of fabric we want to try, frame things up, and start stitching.
Sometimes, we know right away whether a fabric or a color selection is going to work – or whether a color selection definitely won’t work on that particular fabric, but it looks great on that particular fabric. When we do, we adjust lists, eliminate or add to them, and move on to test theories.
Testing theories might only take a few stitches, or maybe stitching a small portion of the design. If a theory doesn’t work, we either cut out or move to another area of the design to test the next theory. Much depends on the type of design.
Sometimes, we discover that the design needs tweaking, and we make notes of where and how.
As we work our way – slowly at first – through our experimentation process, we distill everything down to specific selections of colors, fabric, threads, and, when applicable, beads and other embellishments.
And then, when we feel good about our choices, we start all over again with the chosen fabric, threads, colors, embellishments – and we make the first real prototype. Often, this prototype is It. We’re done!
It doesn’t always happen this way, with as many steps.
Sometimes, we know right away what’s going to work and what isn’t and we can get through the experimentation process quickly.
But other times, we really do have to work at getting the exact concept that we had in mind onto the fabric.
Now, doesn’t that just sound like the Most Fun Job on the Planet? Of course it does!
And we are ever grateful for it!
Have a wonderful weekend!


Leave A Comment