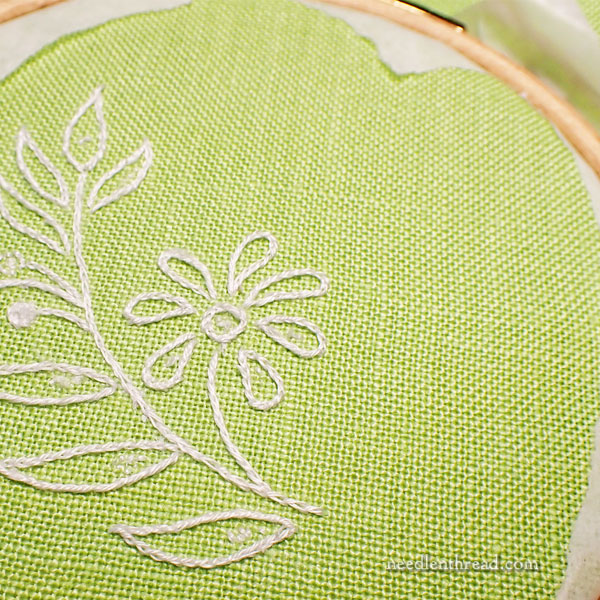
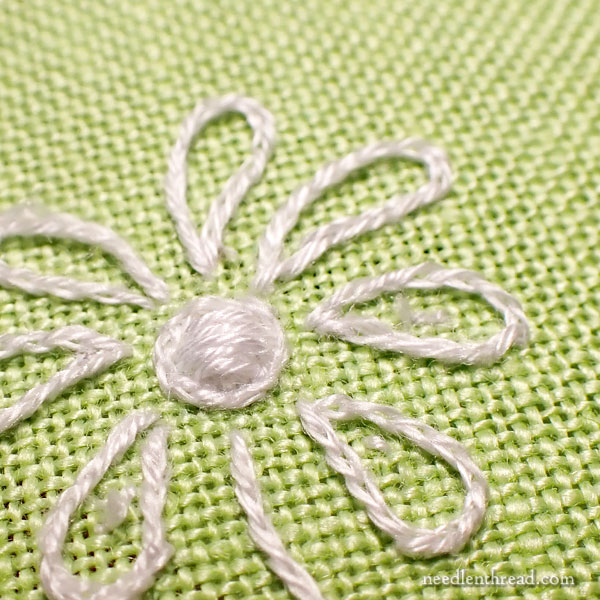
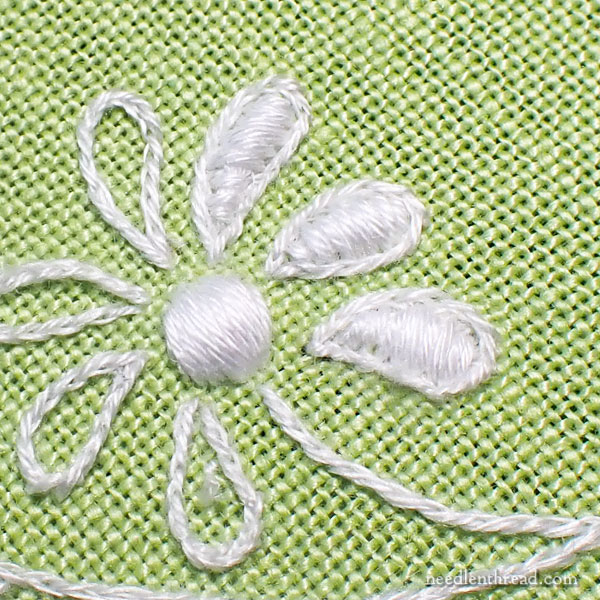
Last the week, I took the opportunity (that’s code for “I started this thing that I should have started two months ago”) to test a little whitework project.
I thought I’d give you a little sneak peek today.
And that’s code for “I had planned a much more intricate blog post for this morning, but it isn’t ready, so instead, I found something short and sweet for you.”

This is a wee whitework project that will focus on teaching several useful embroidery skills, including another transfer method, building padded foundations, satin stitching techniques, and hem stitching.
That’s the plan, anyway!
It won’t necessarily be on green linen – this is just my first foray into sampling and working out the details.

With the first sample, I really just intended to test my layout very quickly, so that I would have an idea of how much fabric the project would require.
But then I started stitching it, and it seemed silly not to actually stitch it for real.
When I get my head into stitching a sample, it always turns out being very good for me. If I’m not trying to troubleshoot – if I’m just stitching away – that’s when my brain goes into detail mode. It begins to work out plans, think out details, develop ideas. All those things happen best with me when I’m doing something with my hands. When I try sitting down with a notebook and I tell myself, “Think!” the results are never quite the same! I get really distracted when I’m thinking with a notebook. It’s very easy to put it aside and move on to other things. But If I’m thinking while I’m stitching, I’m not as easily distracted and I tend to think all the way through into the nitty gritty details.
So, I stitched and I thought. And it was good!

Satin stitch is one of my favorite stitches, especially when worked with coton a broder or with floche.
In this case, I’m working with coton a broder, which is a favorite thread for whitework. You can read about coton a broder here, if you’re not familiar with it.
I may experiment with the different weights, but at this point, it seems that there’s not a huge difference between #25 and #30 for this little project.
In any case, this is a little project in the pipeline! We’ll talk about it a little more, a little later!
Coming Up
This week, we’ll begin the finishing stages for Little Blooms! Yay!
I have many little “tips and techniques” I still want to share with you, that came up while finishing this goldwork project. I took a bunch of photos of various aspects of the project, close up, that we can discuss further so that you can make use of the information for your own projects if you want.
We’re also kitting a larger kit in the studio this week! Keep an eye out for the new Leafy Tree kits! I’ve also revamped and updated the instructions to go with the new kits, and we’ll have those all available soon.
On the home front, in less than two weeks, the house should be finished and my dad and I can finally move back home! I cannot wait to be in my house again, to get life re-situated there, and hopefully, to get back to some sense of settled normality. It will be a Huge Relief. We’ve been living temporarily in a duplex while repairs (that eventually resulted in demolition and rebuilding) started back in January. If all goes as planned, we’ll be moving on Memorial Day weekend. Fingers crossed!
Hope you’re having a fabulous Monday so far and that your week’s off to a great start!


Although things came up (as they often do) and I did not finish the first project, I am looking forward to your next one.
Hoping your house is finished on time! 🙂
Hi Mary,
Can’t WAIT until the Leafy Tree Kit comes back out! I have been very anxious to try that. I don’t really embroider…I quilt and cross-stitch, and I appreciate embroidery from afar. Yours especially! I’m hoping to learn a LOT!
Your renovation sounds huge! Thank goodness you aren’t living in the house while that’s all going on. And your father lives with you? Oh my!
Blessings,
Diane
Speaking of whitework, I have a question. I just started working on a Mountmellick project as a companion piece to one that I stitched years ago.
I came to an area that needs cable plait stitch and looked at your video to refresh my memory, and I find that I just can’t do it using the “sewing” method.
I’ve never used the sewing method; I’ve always been a “stabber”. I tried it by stabbing and it did not turn out well. But the old Mountmellick piece that I did has some beautiful cable plait stitching, so apparently I’ve done it before.
So, I hope you or anyone else can help me! Is there a way to do cable plait stitch by stabbing rather than sewing?
Sure! Work that twisted part that wraps around the needle in the cable plait stitch like you would a twisted chain stitch. That is, take your needle down into the fabric, leaving a loop of working thread on the front of the fabric, then twist the loop of thread with your finger and bring the needle up into the twisted loop. This will give you the twist that wraps around the sewn part of the stitch.