Putting together embroidery kits can be a lot of fun! If you’ve ever considered stepping from stitcher to designer or teacher, developing your own kits and so forth, it’s exciting to figure out the details and see the final plan come together satisfactorily.
But it can also be somewhat frustrating, especially recently as the supply chain grumbles and groans under the pressure of demand, slower production speeds, and slower shipping speeds. I don’t think I’m the only person out there who is eking out kits little by little as backorders are only partially filled – and slowly at that.
This is life at the moment, and we make the best of it!
Many of you have signed up for my advanced notice list for the Mini Sampler Stocking Kits that I’m running again. This year, I decided to make some changes in the kits that I think you’ll appreciate. As small bits of backordered threads make their way to my front stoop (I rejoice every time a box of thread arrives, even if it’s only the size of half a shoe box!), we’ve been assembling a few kits here and there.
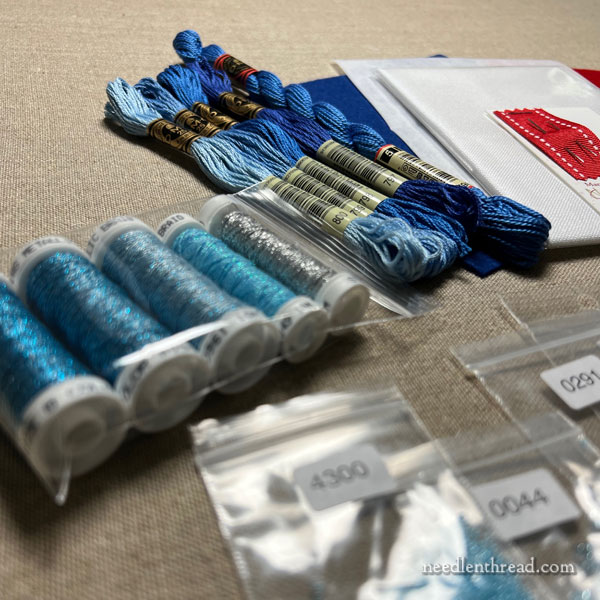
Like I said, putting together embroidery kits can be a lot of fun – there’s something rather sensational about seeing all the supplies come together.
When packaging a kit, I think inside-out.
First, we package everything that needs packaging inside the kit. Spools of specialty threads are grouped together by color, lined up in the same order for each collection, and each collection is tucked into clear bags that are perfect for storing your leftover threads, beads, and bits when the project is finished.
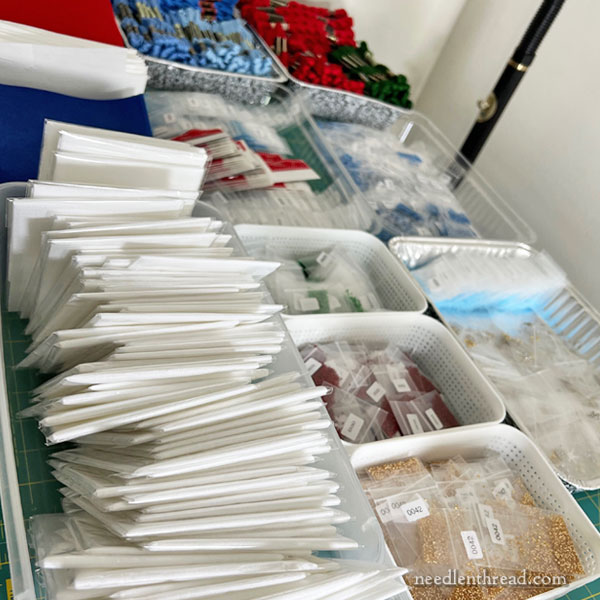
Fabric has to be cut, and, in some cases, packaged.
In the Mini Stocking kits, there’s a nice swath of beautiful white linen that is folded carefully and tucked into a protective sleeve. There are two cuts of wool felt, and a cut of interfacing. These latter bits don’t need the same protection as the white linen, but they have to be cut precisely nonetheless.
I love seeing the stacks of wool felt pieces as they pile up! There’s something so precise about cutting wool felt with a rotary cutter – those clean, crisp edges!
Beads have to be weighed and deposited into their little bags, each of which is individually labeled.
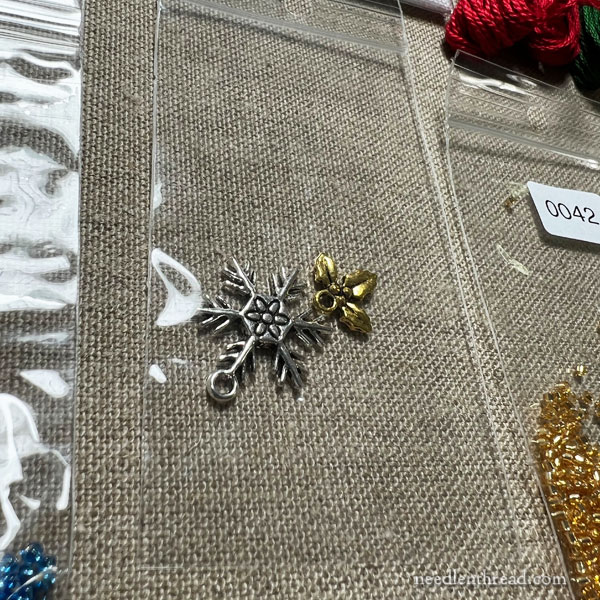
Any extra little accents – like these charms for finishing – are sorted, examined, and packaged.
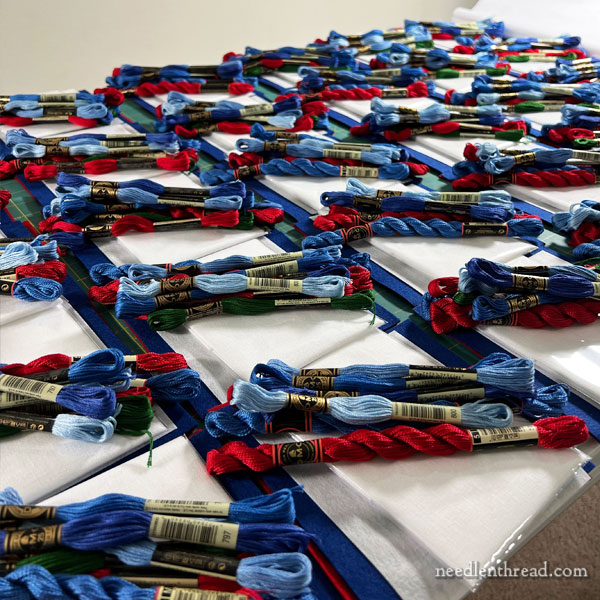
In the new Mini Stocking Kits released this year, in fact, you will find everything that you need to create the stockings, including interfacing, all cotton and specialty threads, all beads, charms, fabrics, and needles.
Last year, I left finding the cotton threads and the interfacing up to you, but after careful consideration, especially for those who have to order even their cotton threads online, it makes more sense to give you everything you need for stitching and assembling the stockings.
The only thing I didn’t include – and it’s not absolutely essential – is a fabric glue stick, which I use in the finishing to hold folded edges in place while I stitch the parts together.
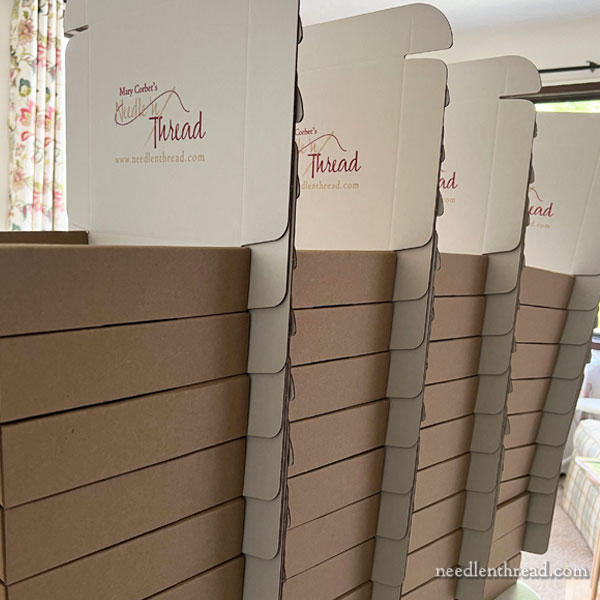
All the kit bits are situated in their own sturdy box.
Fortunately, the boxes only bear a passing resemblance to a pizza box. They’re better quality, and they don’t have grease stains.
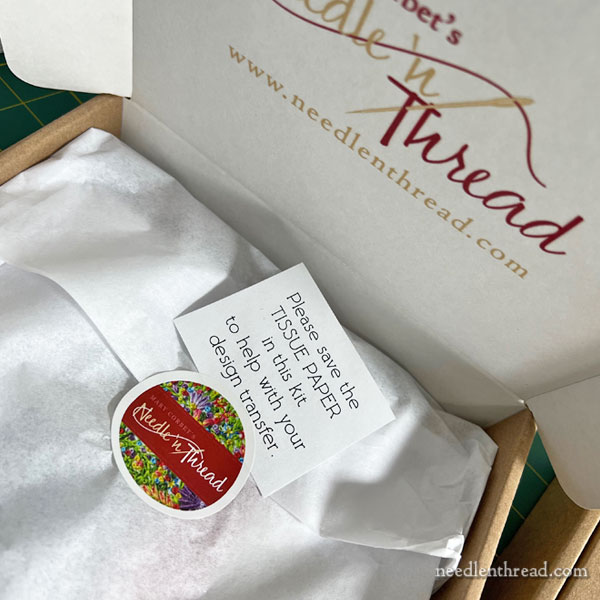
Everything inside the box is carefully wrapped in tissue paper – which is also part of the kit! Part of the fabric set-up includes making use of the tissue paper to transfer the outside shape of the stocking to the linen.
It’s rather thrilling, to see the kits come together.
The kits will be sold separately from the instructional e-book, since many of you already have the e-book. For those who don’t have the e-book yet, it’s available here in my shop.
My plan this year was to have the Mini Sampler Stocking Kits ready to go for you before the beginning of October. Alas, I’m still awaiting backordered DMC threads. I have high hopes they will arrive someday soon. I can’t wait to let you know the kits are finished and ready to go!
And that’s what’s been going on, bit by bit, in the studio this week – that, and a little stitching, which I’ll show you next week!


Mary- Before reading your posts, I had never imagined all the many steps in creating needlework kits. I am in the very early stages of planning for kits of my own and your updates have been illuminating. I really appreciate that you have shared your struggles with planning/sourcing the supplies as well as your thought process in selecting the packing materials, boxes and all those tiny, little bags. Your care with packing is particularly admirable. All of those little details- the cards, stickers, tags, logos on the box- must be quite time-consuming, but are so worth it! As I go forward in the process, it is extremely helpful to have a gold-star example of the proper way to put together kits. Thanks for all you do!
Now, I’m all excited to order one. I hope I can beat the rush once the order link has been posted. Love you kits and your website.
Thanks, Sherry! 🙂
Dear Mary
I can see it takes a huge amount of time and effort to put the kits together but how exciting to see all those kits ready for despatch. It must be very satisfying to fill the boxes with the different items, you must feel like Father Christmas getting ready to deliver presents. Thank you for sharing with us the process of getting the kits ready for despatch and all that is involved, it takes some organisation.
Regards Anita Simmance