While I work with particular embroidery stitches, I always find it entertaining to think about the stitches.
One of my pet musings: Who was the first person to stitch This Particular Stitch? What instigated it? What happened next?
It’s not a novel thought. I’m not the only person in the word to wonder who was the first to do This Particular Everyday Thing. Charles Lamb, after all, pondered out the roasting of pigs in a whole dissertation!
But I do wonder about such things. Who, for example, first paired strawberries and cream? And what genius followed that by adding a bit of sugar and vanilla… and then froze it? Who put peanut butter and jelly together for the first time and found it good? (Or my mom’s incomprehensible favorite, peanut butter and mayonnaise?)
I ponder these types of questions about stitches. And while I could never tell you who came up with the two stitches we’re going to talk about today, I can guess that both stitches must have come about simultaneously (it only makes sense!), and that the original stitcher must have enjoyed a very smug satisfaction with the results.
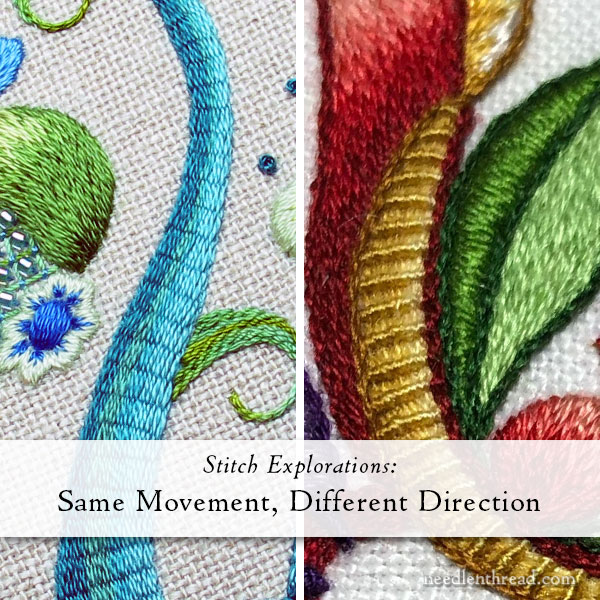
Recently, I was gathering up some information on stitches worked on foundations. I figured it would be a great topic to present here as a refresher on these types of composite stitches, to entice you to try them out in various ways. As is often the case with wordy me, though, the article was way too long.
So today, we’re just going to explore a fragment of the topic, by comparing two very similar stitches.
They are, in fact, practically the same exact stitch, movement-wise. They’re just worked from different directions, and this fact changes their look entirely.
(I love it when that happens.)
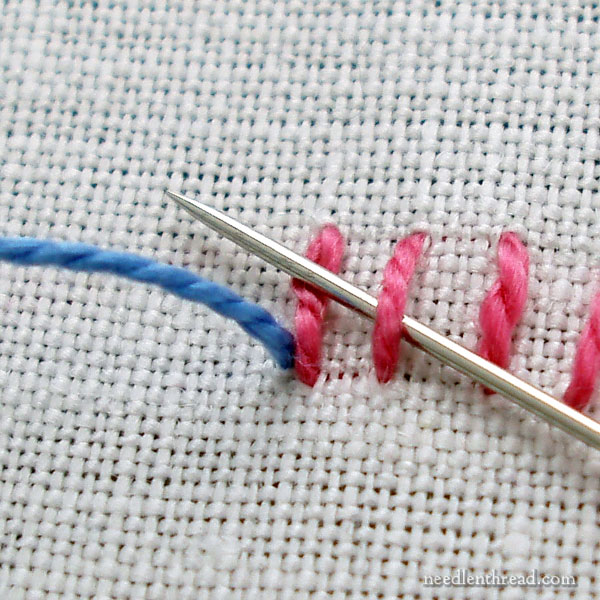
Let’s start by looking at the raised stem stitch band. You can find step by step instructions for this stitch here, and a video tutorial for it here.
But the whole gist of the stitch is found right in the movement shown above.
First, you can see there’s a foundation of parallel straight stitches that the stem stitch is worked over.
Then, working from left to right, the needle passes over two foundation stitches, backwards under the last one it passed over, and then forward again over two, back under one, and so forth.
That’s the whole idea of raised stem stitch.
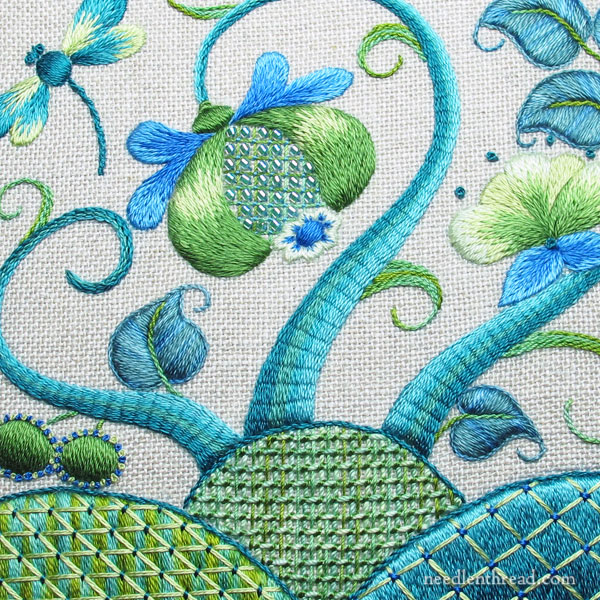
And the results are quite nice!
The stems in this Modern Crewel design I worked a few years ago (from Inspirations Magazine) are raised stem stitch.
If you’re looking for this design, you can find it in the book Crewelwork Inspirations, published by Inspirations Studios. You’ll find it listed here on my Amazon Recommendations list. While it’s not technically “crewel work,” it is a modern twist on a design style that’s often associated with crewel embroidery.
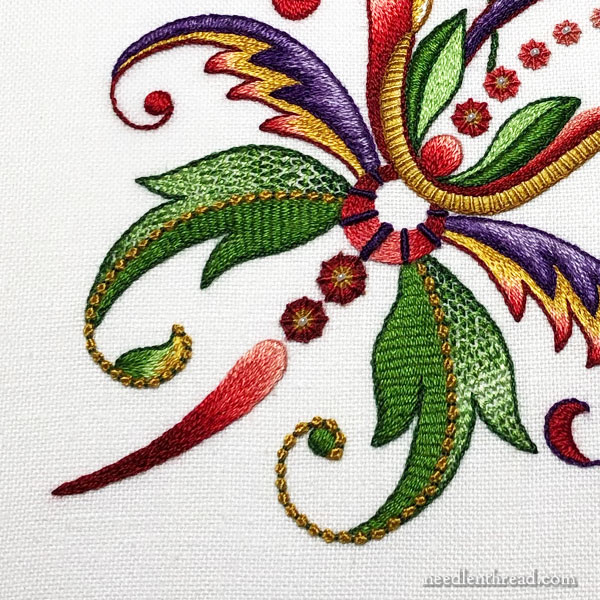
One half of the broad green leaves in my design, Fantasia, are filled with raised stem stitch.
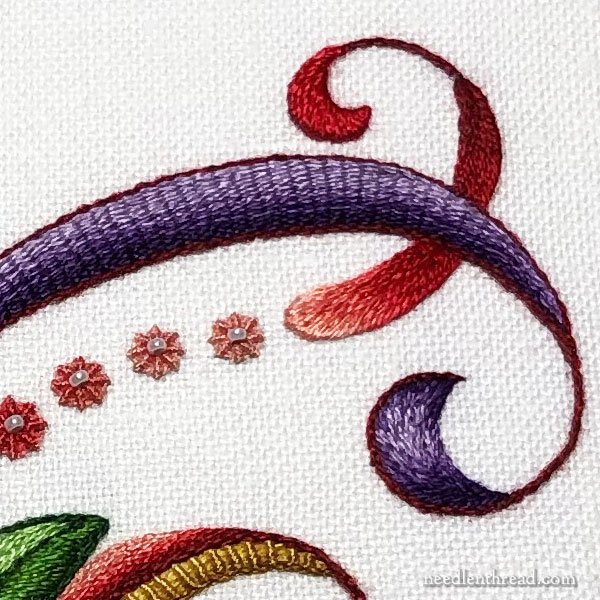
This purple swash at the top of Fantasia is raised stem stitch as well.
It’s a great stitch!
Imagine the first person to ever work the raised stem stitch. What excitement! What a pleasant and satisfactory discovery!
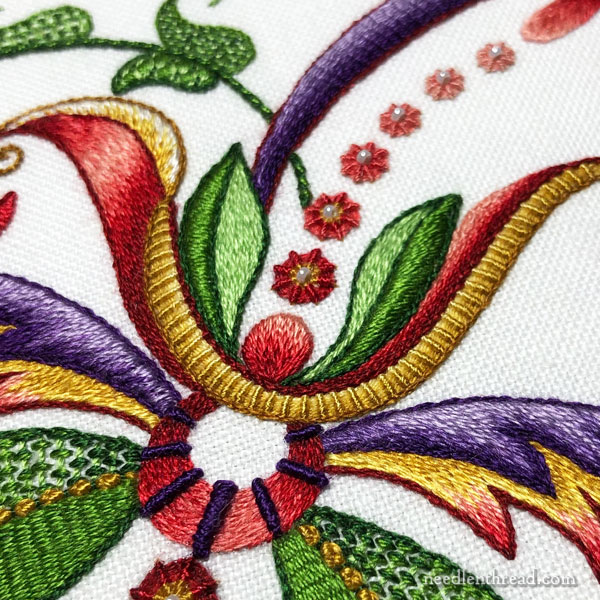
I think the Very Next Thing that person did was work the ribbed stitch. In other words, the same stitch, in the same movement, but from the right to left, passing under two stitches and back over one, forward under two, back over one, and so forth.
And the result was a raised ribbed line, like the bumpy gold line in Fantasia pictured above.
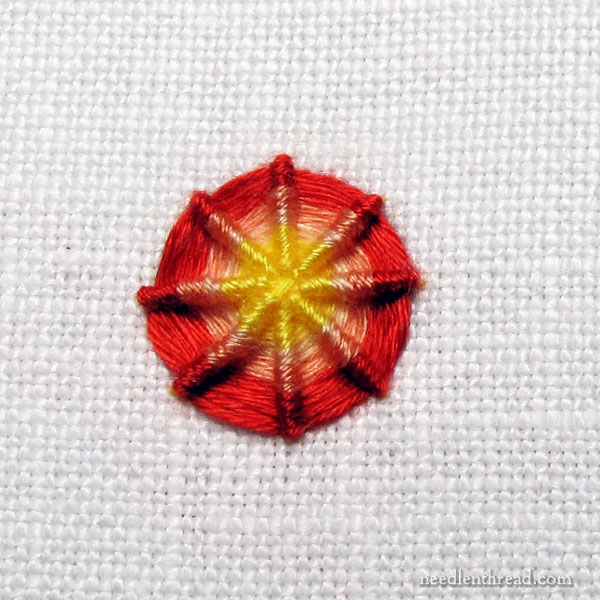
Remember the ribbed wheel we looked at last week, when we talked about changing colors seamlessly? That’s the same stitch, but worked as a wheel.
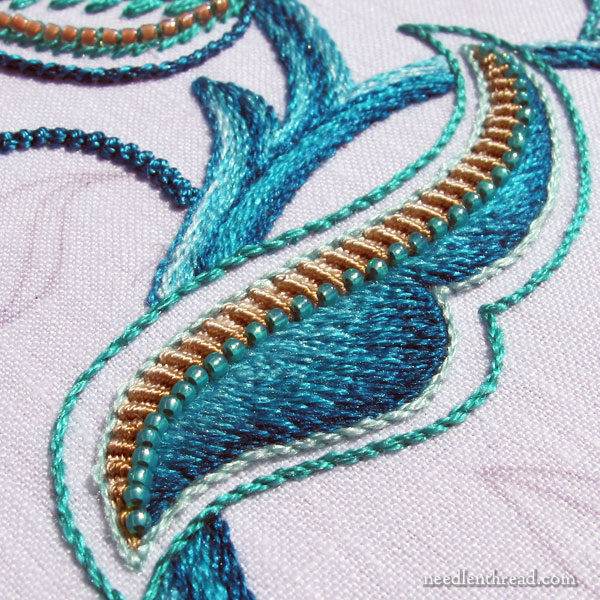
In this project from last year – Jacobean Sea (coming out this year as a kit to a blog near you) you can see the use of raised rib stitching on the sandy band at the top of this leaf. There are a few beads thrown in for good measure.
You might naturally draw the conclusion that I like raised stitches worked on foundations.
And you would be right!
These two – raised stem stitch and rib stitch – are my favorite, and they have a special place in my little heart because they’re practically the same stitch only worked from different directions.
But it’s no wonder, really, because one is simply a stem stitch and the other is more or less a backstitch, though they are worked on top of a foundation of parallel straight stitches.
And backstitch and stem stitch are no more than different sides of the same proverbial coin.
If you flip over your embroidery project and you look at the back of a line of stem stitch, what will you see? Backstitch!
And if you flip over your embroidery project and look at the back of a backstitch line, what will you see? Stem stitch!
Ok. Enough musing. We’re going to talk about stitches worked on foundations in a little more depth shortly.
In the meantime, though, why not play with these two stitches yourself? They’re lovely!
And they’re just waiting for you to enjoy that same sense of smug satisfaction that the First Person to Ever Work Them surely felt, once upon a time!
Looking for Stitch Tutorials?
You’ll find tutorials for these stitches – and many more – populating the pages of Needle ‘n Thread. Check out my how-to video library here for video tutorials, or the Stitch Fun! series here for photo tutorials for a whole variety of embroidery stitches.
The link to my Amazon recommendations page is an affiliate link, which means that any purchases made through that link result in a small commission for Needle ‘n Thread, at no extra expense to you.


I am so looking forward to your Jacobean Sea kit when it becomes available! Have a grand day
Thank you ,Mary for the tutorial and the news that Jacobean Sea will be a kit – it is beautiful – my favorite colors and I will be in line to order the kit.
Will you be doing a pattern with directions for Fantasia in the future? That is also a beautiful design.
Have a great weekend!
Thanks, Susan… and yes! 🙂
Great posting, Mary. You never fail to entertain and educate.
Mary you are a never ending source of inspiration. I so enjoy all of your posts and your vast wealth of information and tutorials! Thank you!
🙂 Thanks, Paula!
Dear Mary
Fantastic news that the Jacobean Sea is coming out as a kit are you going to make a E-book of it as well would love to purchase this. I’m like you I often delve into why things are like they are it must be because I’m a historian by nature and love researching why things or who invented things a great hobby. The raised stem stitch is now my favourite stitch it looks lovely on the photo of your embroideries above and I will certainly include it in my embroidery project. Thank you for sharing with us the tutorial on the raised stem stitch and the ribbed wheel stitch and for the information of the similarity of the raised stem stitch and the back stitch very interesting.
Regards Anita Simmance
Who first and why? I would not discount total accident when it comes to new stitches – not remembering the proper steps, doing what you think might be right, and deciding the new stitch was staying in. Though when it comes to food, hunger and an nearly empty pantry can lead to some wild combinations, both good and bad. In both cases, simple curiosity is probably the biggest motivator to try new things.
Any update on when this kit will be available?
Hi, Andrea – which kit? I used several different projects as examples in this blog post. If it’s the Jacobean Sea, I hope this year!
Ever looked into the dye process for woad/ indigo? I wonder about that one!
Susan
And Split Stitch. They’re all three the same basic stitch.
Susan