A few years ago, I got into embroidering on whole egg shells, and, much to my continuing disappointment, I’ve never gotten back to it. I keep telling myself I will, and now, after seeing these embroidered masterpieces from Christine down in Tasmania, I’m dying to revisit the whole egg embroidery scene!
Keep in mind, we’re talking about egg shells that have been emptied and that are whole. The backs are not cut out, there are no large holes in them. Through a series of passing the needle and thread back and forth to different sides of the egg, in on one side, through a hole on the other and back through the same hole to go out a different hole on the opposite, you really can embroider a whole egg shell!
If you haven’t read about the whosits and whatsits of embroidery on eggs, here’s my collection of articles on the topic, with some tips and information on how it’s done.
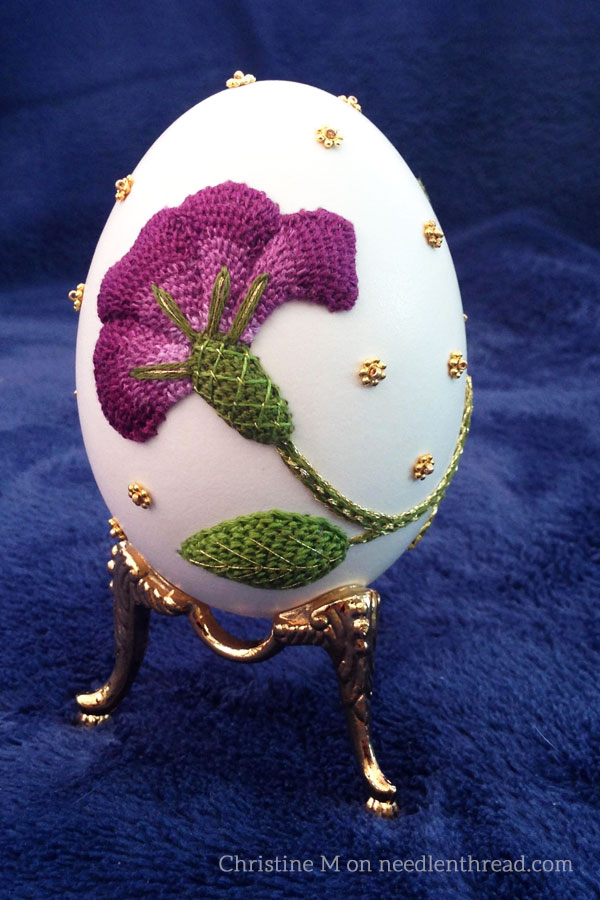
Ahhhhhhh! Can you see why I want to get back to embroidery on eggs? There’s just something mesmerizing about that beautiful, delicate white shell covered with such glorious stitching!
Christine down in Tasmania really liked the idea of embroidering on eggs, so she went all out and tried it for herself.
She has put my sad attempts to shame by creating some gorgeous works of egg embroidery art!
Christine started out on a chook egg (which is Australian for a chicken egg), but then she moved on to goose eggs. She is currently working on an ostrich egg, which I think will be a sight to behold! I can’t wait to see what she does on it!
Above, you can see the front of the egg, with raised stitching all around it….
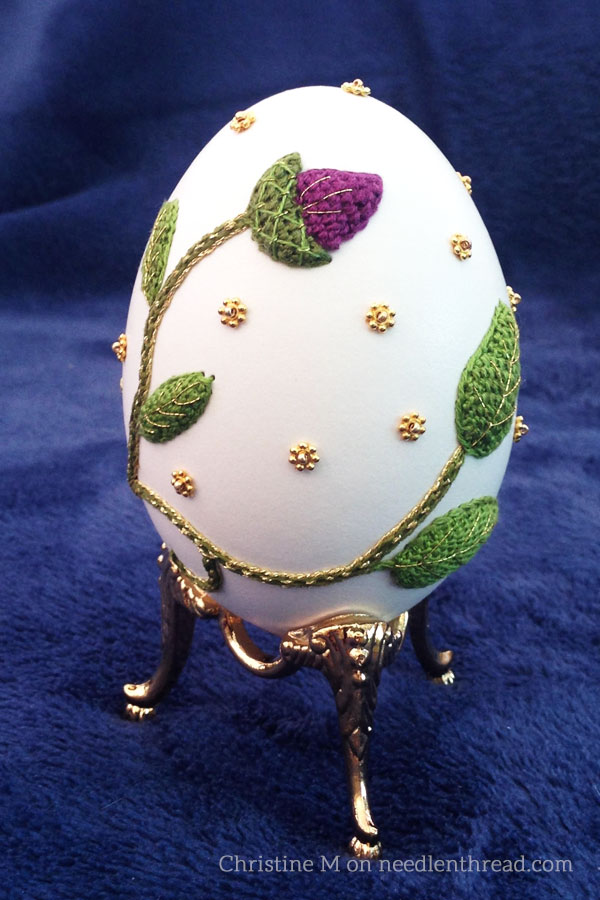
…and this is the back of the same egg.
Using cotton floss, Christine worked the outlines of the embroidered flower and bud through the egg shell. The outlines are worked in reverse chain stitch, and the flower, leaves, and buds are worked in corded buttonhole stitch. She stuffed the stitched area with a little filling, to raise the elements and give them a delightful dimension.
She laced through the chain stitch on the stems with metallic thread, and worked the details on the leaves with a touch of gold, too.
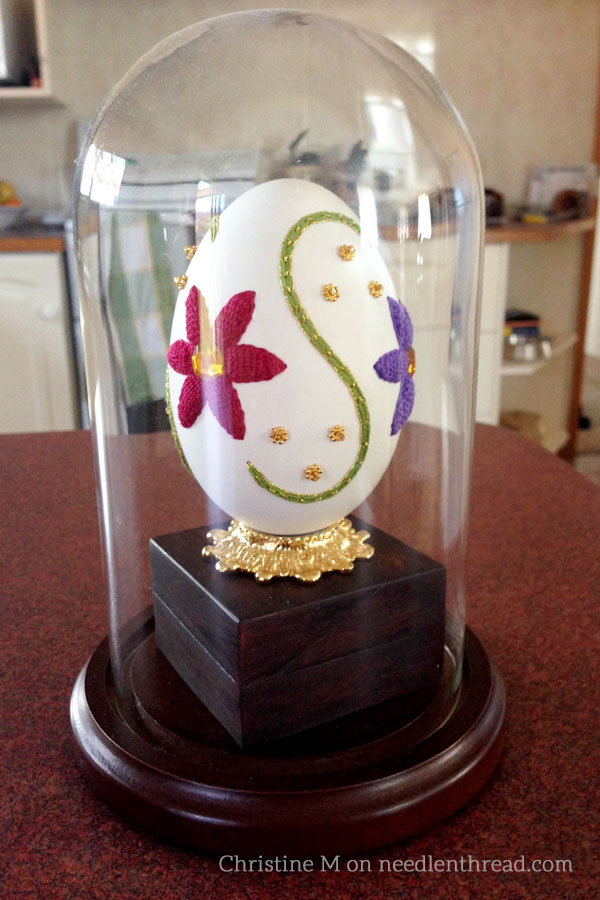
For the gold bead elements, she used bead “spacers” (that’s the ring of tiny beads) around a larger bead, holding the spacer in place with the larger bead, which is stitched onto the egg.
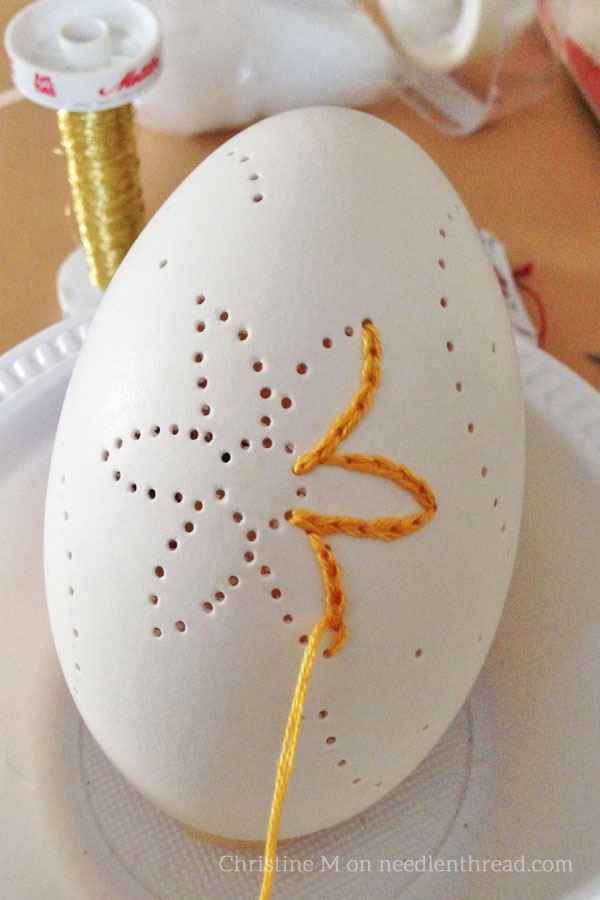
Above, you can see the reverse chain stitch underway on the surface of the egg.
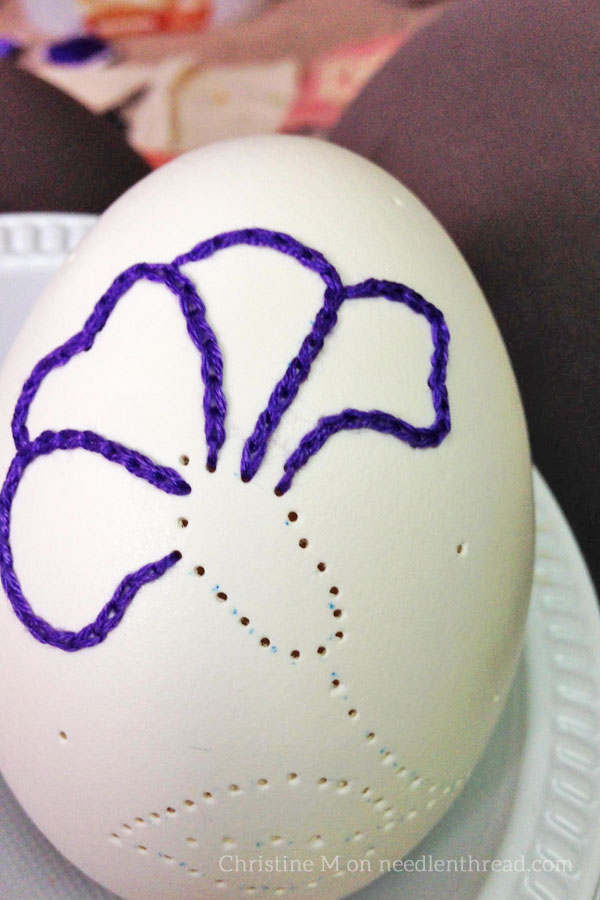
And here you can see the reverse chain stitch completed, outlining the flower petals. On this chain stitch foundation, she’ll work the corded buttonhole stitch.
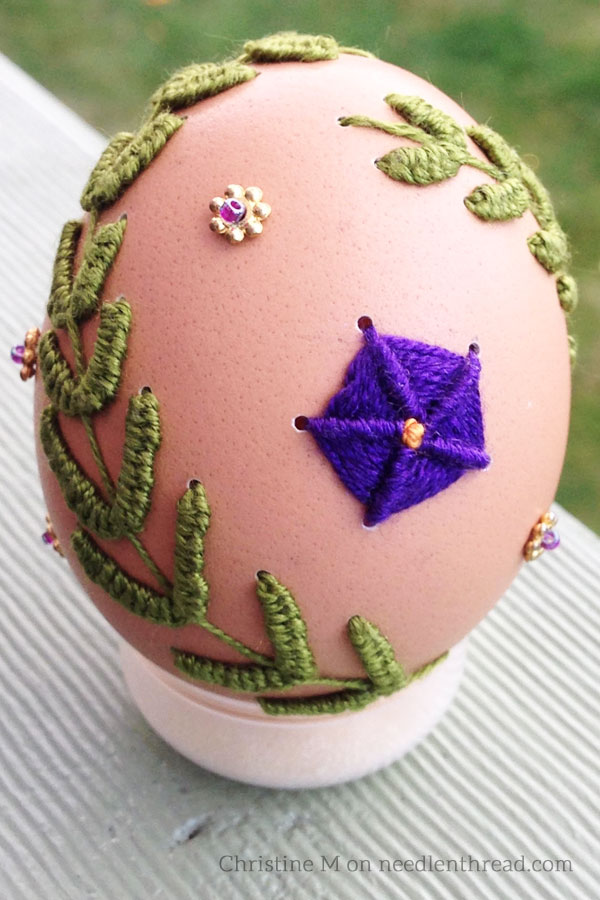
This is Christine’s first egg – a brown chicken egg – embroidered with a two-pronged woven stitch (much like the woven picot, but with only two “legs” for the foundation, rather than three).
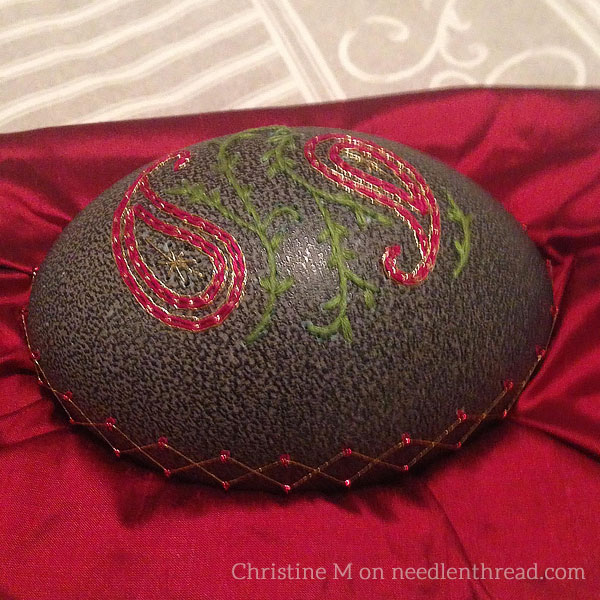
And here, an amazing emu egg is the background for some red and gold paisley swirls, with delicate green vine and leaf accents. Note the border up the side of the egg – so pretty!
If anyone is interested in communicating with Christine about egg embroidery – maybe you stitch eggs, too? – drop me a line and I’ll put her in touch with you as soon as I get back home (I’m out of town this week, without internet access).
Christine is eager to communicate with other stitchers interested in egg embroidery, since she doesn’t have anyone in her immediate surrounds who pursues this unusual but beautiful art.
I hope you find her work as inspiring as I do!
I won’t be able to access the internet from July 10 – 17th. If you email during that time, you’ll get an auto-responder. Comments left on the website will be queued until I return. Thanks for understanding!


I’d love to know what kind of needle she uses. Is it a curved needle so she can easily get the needle in and out of the shell?
Oh my, Christine! They are gorgeous. How many eggs died in the process? I can just imagine putting in all that work and then disaster striking. Yikes. They are just wonderful. Amazing! I salute you!
I have made Pysanky for decades, so have been fascinated by embroidered eggs since I discovered then on the internet a few years back. Thank you so much for sharing Christine’s! Her designs and technique are some of the best I’ve seen!
Dear Mary
Christine what lovely eggembroidery the designs are beautiful, can you tell me what is a corded buttonhole stitch and how did you embroider it on the egg, I would really like more info on how you embroidery, your eggs they are amazing. Like you Mary I would like to get back to eggembroidery and learn more, I miss creating designs on eggs, although it is a slow process you feel you have really accomplished something on a completed egg. Thanks so much for sharing Christine’s beautiful eggembroidery and for awaking in me a hankering to get back into eggembroidery. I do hope you are having a well deserved rest.
Regards Anita Simmance
Wow. Just. Wow. These are beautiful. I love how “Faberge” they look!
Magnificent egg embroidery.
I would love to communicate with Christine about these beautiful embroidered eggs.
Thank you. I love your site!
Laura Sims
Amazed me, an egg is very easily break because of hard thin shell. How do you sewing through to the holes on the egg without break? Is the needle very thin and easily mend, am I correct? I am interesting to know how did you that…
Hope to hear from you soon.
Thank you.
Du très beau travail je suis en admiration.
Hi Mary, after a long break from needlework due to family illness I’m now back into stitching. I have just finished embroidering an ostrich egg incorporating Stumpwork into it as well.
I would like to send you a photo, but your site for requesting sending a photo would not allow me to do so as I do not have a web site and it tells me my information is not complete without filling that space.
Thank you, Christine Marks