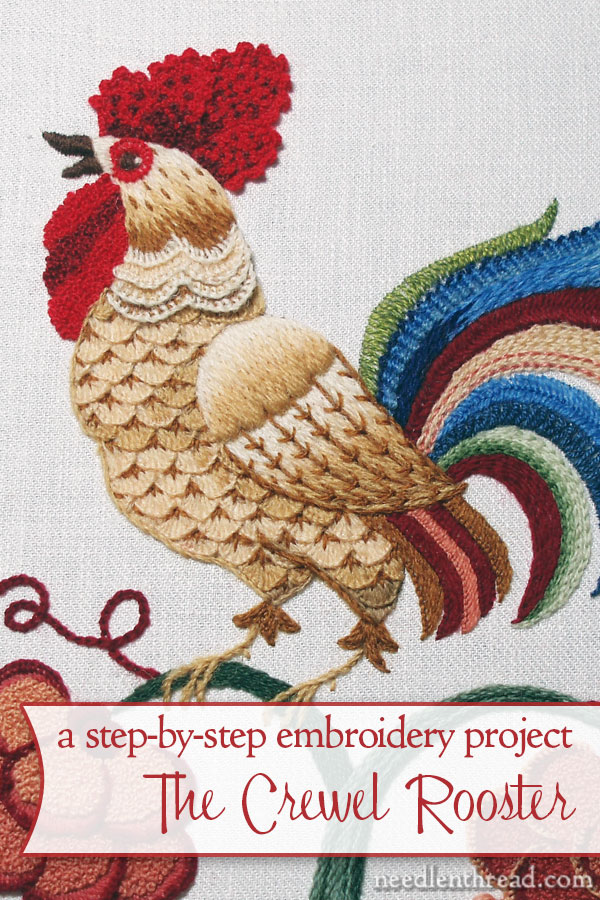
Here’s a complete index of the step-by-step articles on the Crewel Rooster embroidery project.
Within the articles, you’ll find valuable tips and tricks on crewel embroidery and on the supplies used, including fabric and a variety of different wool threads.
This embroidery project was primarily experimental – I wanted to test the new linen twill by Legacy linen and try out a variety of wool threads that are available on the market.

The following links will take you chronologically through the whole crewel embroidery project, from start to finish.
Free Hand Embroidery Pattern for The Crewel Rooster
Setting up The Crewel Rooster Project
Choosing Threads for The Crewel Rooster – and the first flower
Crewel Design Books
Stem Stitch Filling on Flower Stems
Scalloped Feathers on the Rooster’s Body
The Beginnings of the Rooster’s Tail
French Knots on the Wattle
Adding the First Blue Feather using a Raised Backstitch
The Rooster Tail, Finished for Now
The Wing – Three Attempts
Adjusting the Tail Feathers One More Time
The Rooster’s Head, Neck, and Comb
The First Flower Attempt Comes Out
New Colors for the Flowers
Lots of Knots
Rethinking the Flowers Again
More knots on the Flowers and a Color Change
The Crewel Rooster – Finished!
The Crewel Rooster on a Platter


Hi Mary,
Thank you so much for posting the complete instructions for both the rooster and the pomegranate projects. I had saved them separately as you went through the projects and this makes it so much easier with everything in one place.
Helen in SW FL
Hi Mary
The rooster turned out perfect. I could just look and look at it. The colors are wonderful. I truly envy you your talent.
Hugs
FredaB
This is why I signed up to your website!! I can't wait to start this rooster project! It may be a little advanced for me, but all I can do is rip it out and try again!! Thanks, Kathy
G'day Mary,
Thanks again. You're doing a great job.
Cheers, Kath.
Oh Mary, he's so wonderful. I love the final result, he looks like he could crow at any minute, LOL.
Well done, after all the ripping out and re-doing the result was certainly worth all your hard work. Hope you're pleased with him?
Thanks for sharing your journey with us all,
Hooroo,
Christine in sunny Sydney Australia
Hi Mary!
Great that you are indexing your projects! As expressed in my previous comment I'm really excited to know that you too had the same thing in mind 🙂
Looking forward to the new website!
Love you for putting in this much effort for us all
que bello esta , le agradesco de todo corazon , todo lo que compartes con las que somos apacionadas al bordado , que Dios te bendiga amiga y deseo si le es posible compartir con mas diseños como este bello gallo , Dios te recompense mucho mucho ya que tines un gran corazon ,
soy de Costa Rica y estoy a tus ordenes , estare feliz esperando tu repuesta
miles y miles de bendiciones
Thanks a lot ! Merci beaucoup pour ce pas à pas très bien expliqué. Je suis très enthousiaste à l’idée de broder ce joli coq.
Good evening!
I never thought a rooster could be gorgeous, but your work proved me wrong! Soo pretty.
Cheers
How about naming him King of the Henhouse. Just a thought.
The crewel rooster design and the following helpful ways of how to go about embroidering it has inspired me to start some crewel work which I have been wanting to do for the last two years.
Thank you
I’ve only just found your site! It’s brilliant! I’ll be sharing it with friends
Thanks, Carole! 🙂
Thank you Mary for being generous with your knowledgea.