Before the school year gets underway in a mere week and a half (where DOES the summer go?!), I wanted to get several embroidery projects set up. I’m teaching five courses this semester, so I know my needlework time will be limited once school starts, especially during the first month while getting the routine underway. I’m planning to go back to the 15 Minutes Plan, but I can only do that if I have projects ready to stitch.
With that in mind, then, I set about setting up a project! This is the Schwalm Whitework teacloth that is featured in Luzine’s book, Basic Principles of Schwalm Whitework.
I began by measuring out the linen to the prescribed 80 x 80 cm. Instead of working in centimeters, I converted everything to inches – which was probably silly. Anyway, I cut the linen to 31.5″ square, pulling out threads to make sure the linen was cut on the weave. Then, I zig-zagged the edges on the sewing machine, so that I wouldn’t have stray threads falling off the edge of the linen.
The linen I’m using is from Germany (thank you, Joey!) and is the preferred linen for Schwalm whitework. It’s called Weddigen Linen, and it’s available through Das Handarbeitshaus. (If you don’t read German, you can drop that in Google’s translator, and get a very good translation.) It comes in two thread counts: approx. 35 threads per inch, and approximately 50 threads per inch. I’m using the 35.
Once all the linen preparation was done, I divided the linen in half with basting lines, vertically and horizontally, then marked off the square for the pattern with basting stitches, too. The book calls for 20 cm in each direction, to form approximately a 40cm square for the design. I converted that to inches, and blocked off a 15.5″ square, and then also basted in the diagonals on the square. How to do all of this – and why – is explained in the book.
Anyway, I found that the pattern was a bit small for a 15.5″ square, so I took the square in an inch all around, and was a bit more satisfied with the layout. Then….
I started tracing. The book suggests an iron-on pencil or pen for transferring the pattern, and I have to admit, that would be about ten million times easier. But I have an aversion to iron-on transfer pencils and pens, because I know they don’t come out all the way, despite the method of removal. I decided instead to use a watercolor pencil, and I traced the design.
To trace the design, I lined it up with all the correct lines on the fabric, then I pinned it on and placed it over a light box. It was “easy enough” in concept, but it took a long time! But, once it was finished – it was finished!
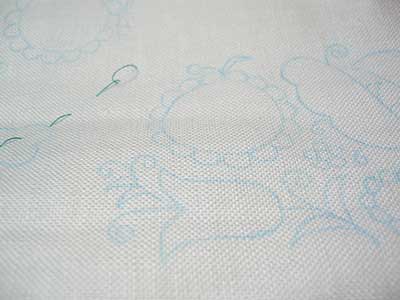
Once the design was transferred, my next step was to assemble all my threads. I took out my box of whitework threads, to find this general mess:
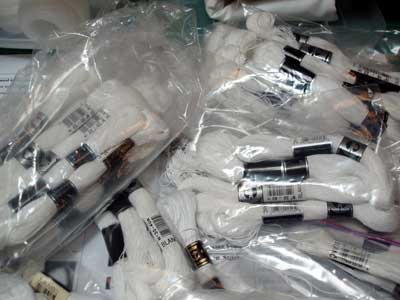
I’ve been telling myself for a while that I need to inventory my threads. These threads get used all the time, and they’re not easy to come by. You generally can’t find whitework threads (coton a broder) at your local needlework / sewing / craft or hobby store – or at least, I can’t! So whenever I need a particular thread, I have to order it online. Still, it looked as if I might have enough!
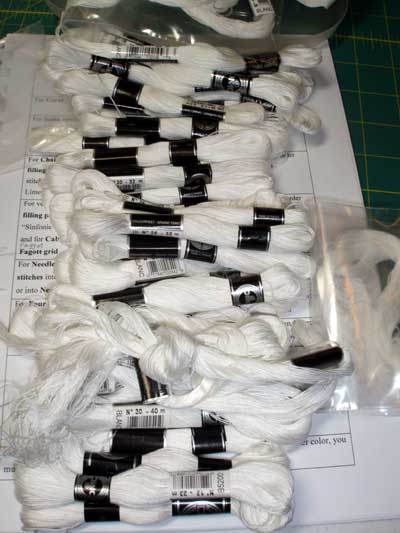
I sorted them all out, and grouped them according to size. I had sizes 12 through 40, in the following quantities:
#12 – 3 skeins
#16 – 14 skeins + 1 partial
#20 – 4 skeins
#25 – 11 skeins + 2 partial
#30 – 7 skeins + 3 partial
#40 – 3 skeins + 1 partial
I put them all in individual bags, according to size. I’ll probably order a few skeins of #20 this week, since I’m relatively low on it, and it’s a popular size for many of the stitches in this project.
In the book, it’s very nice to have a thread chart that indicates the particular stitches for which each weight of thread is used. Size #50 coton a broder is mentioned (you can use #50 or #40), but I can’t find #50 available at any shops here in the States, so I’ll stick with #40, which is also becoming increasingly hard to find.
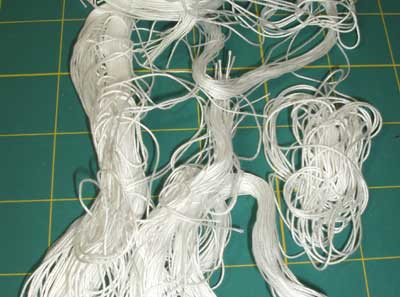
I also had a pile of loose threads that didn’t have tags on them, so I have no idea what size they are. Let this be a lesson! Always make sure you have a way to identify your thread sizes. These won’t go to waste, of course. I will use them randomly here and there on little projects, like my fish.
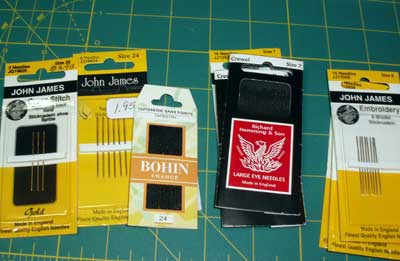
Then, I dug through my needle box, and found I had the right sized needles. The book calls for chenille needles and tapestry needles in specific sizes. I had plenty of tapestry, but no chenille, so I’m substituting crewel needles in corresponding sizes.
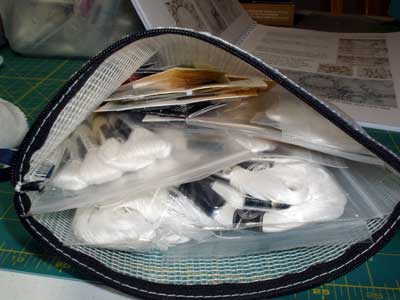
With everything gathered for the project, I packed the threads and needles away in a mesh zipper bag.
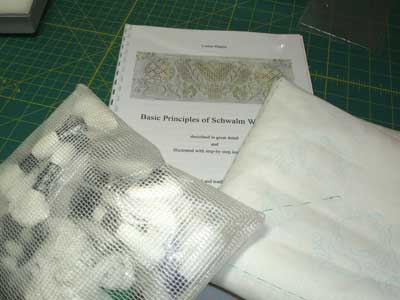
Everything’s together and ready to go – ain’t that grand??!
But the best thing was that I still had some time (it was only 9:30 pm – I had to stop at 9:45, for company coming) so I decided to actually start on the stitching!
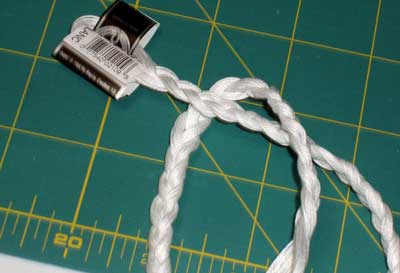
Before working with coton a broder, it’s a good idea to prepare your thread. I’ve got a little tutorial here on Needle ‘n Thread about preparing coton a broder for stitching – how to handle these types of “hanks” of embroidery cotton. Incidentally, this is the same method that Luzine suggests in her book. So I prepared a skein of #16 for stitching by braiding it with the paper tags left on, so that I can identify the size.
Then….
I threaded my needle…
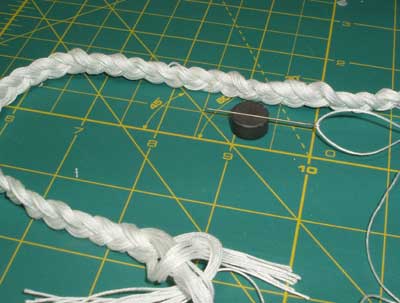
It was time to start stitching!
… and that’s when the timer went off. Time was up! But it was a good evening’s work, and I’m ready to go at my next stitching opportunity!
*******************************************
Other News:
If you haven’t signed up yet for my Historic Needlework give-away, there’s still time! Visit the original post and read the information on how
to sign up!
Today, I’m moving. Not moving, moving. Just sort of moving. My habitat (cave, hovel, whatever you want to call it) is getting a little facelift, so all my computer stuff is being shifted to the studio. The Internet People (Wamego Telecommunications) are coming today to put in a new internet line out the studio, so I’ll still be able to work online while the remodeling is being done. The point of all this unwanted personal information is simply to let you know that, if you don’t hear from me tomorrow (?!), it’s because something went wrong!
Now, I’m off to make room for Technology, so that I don’t have to rest my PC on beds of embroidery thread….


Hi Mary,
I have a request. I embroider with the supplies I get by seeing with the eyes. But when browsing, its mentioned a lot about thread sizes or needle sizes, also the metal threads.
Particularly when ordering online, I don't have an idea of what sizes really mean here.
Could you give information on what these sizes correspond to.
I've got Luzine's book though the e-mail Joey has left in comments.
Luzine is a very nice person and has the book in French too.
When I went to buy the DMC skeins for stitching along your long and short stitch shading project I've also bought all the white skeins and threads for the project in the book…
You are the cause of all this, Mary!!!
Mary, I am happily following your news notes and stitching lessons [Long n Short]. It does my heart good to know that I am not alon with my thread piles, no time, and all that. What a refreshing take on our creative minds!! Karin
Is whitework something one can learn on their own and from a book? I know of no one anywhere near who does anything beyond usual embroidery stem stitch, french knot, chain stitch…
Thanks!
Hi Mary –
Regarding the no. 50 thread you refer to in this post, actually if you look again on page 7 you will notice it says "Crochet Cotton no. 40 or 50". Cordonnet (DMC is what I use) is mentioned specifically on page 74.
I'm very happy to see this project featured on your blog!
This has nothing to do wiuth embroidery – but, do you happen to know the name of the font you use on your PDF's? for your name, etc.? I will be doing a wedding invitation for a neice, and she loves this font. Any info you have would be appreciated! (P.S. – working on my long and short triangle-with-the-curved-edge now!)
Hi, All! I'll attempt to answer all your comments and questions so far here!
Anonymous 1 – good idea about the thread weights. Without comparing them specifically to another well-known thread, I'm not sure how to go about giving you a 'visual' on size. I've done a couple thread comparison posts, though, that include coton a broder, floche, DMC stranded, etc. You can find those under "Tips and Tricks" in the right column under Editor's Floss. Just look under "Threads" and you'll see a few articles on that subject.
Meri! Sorry! What can I say? I think you and I are probably a lot alike when it comes to our tastes and enthusiasm for needlework! Are you going to work the project featured in the book? If you do, let me know – maybe we can "troubleshoot" together?
Sewbusy – I think I need a user name like yours! Well, it's better to be busy than bored, I figure!
Anonymous 2 – regarding learning whitework: if you already have a handle on regular stitches, the only difference is the thread and different "styles" of stitching. You can definitely teach yourself from a book. I did.
Joey – Thanks! I'm such a moron – I just looked at that. I have a box of DMC cordonnet in various sizes, and I know #50 is in there! I'll dig it out. It's for the edge, anyway, so I suppose I don't need it right away. Still, if I need more, I should order it now! Thanks for the tip!!
Hi, Jacnice – Do you mean the logo title of Needle 'n Thread (the very slim looking, sort of art nouveau type? as in the "Needle 'n Thread" in the header on the website? or do you mean the handwritten script?! The logo type is called "Stylistic SF" and the hand written type is "Scrawlies." My favorite source for fonts is Fontcraft Scriptorium, which is where I got "scrawlies" but not "Stylistic" – that may have just come with my computer or some graphic software or something? Fontcraft has some beautiful art nouveau fonts, though….
Thanks, all, for your comments!
MC
Mary, you mentioned many numbers of the threads. Could you write, where you find them. Here in Lithuania it is quite a problem to get even some pearl cotton # 5, I think, that only few people have # 8 (I do not speak about smaller numbers). I use different threads for crochet, for sewing, etc. And I am a small moth, who needs more and more threads for my new ideas…
Hi Mary!
I should do go (is this anything in Ehglish? – I want to emphasize the sentence 🙂 ) along with you in this project!!! But I'm quite late. I've never made such a complex embroidery but what has thrilled me is the complete explanation in this book. I take the opportunity to say to Anonymous 2 that I've learnt everything about embroidery in books you have recommended here (and hope learn more).
And I was already 58 years old (two years ago….ALREADY!!!???)