April 19, 2023
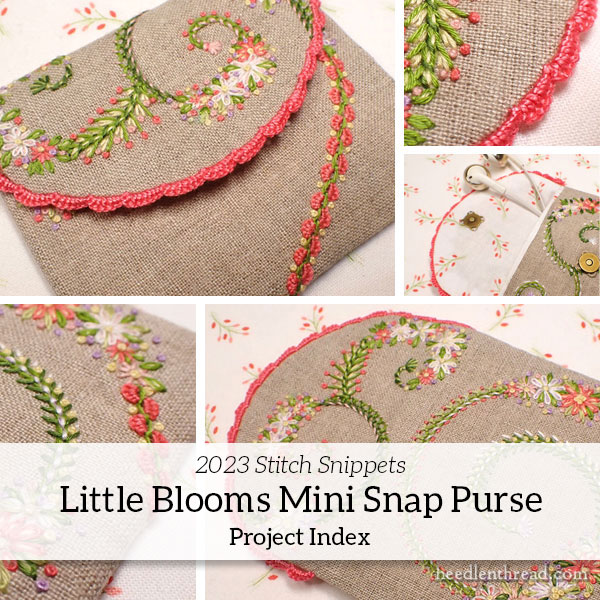
Little Blooms Project Index
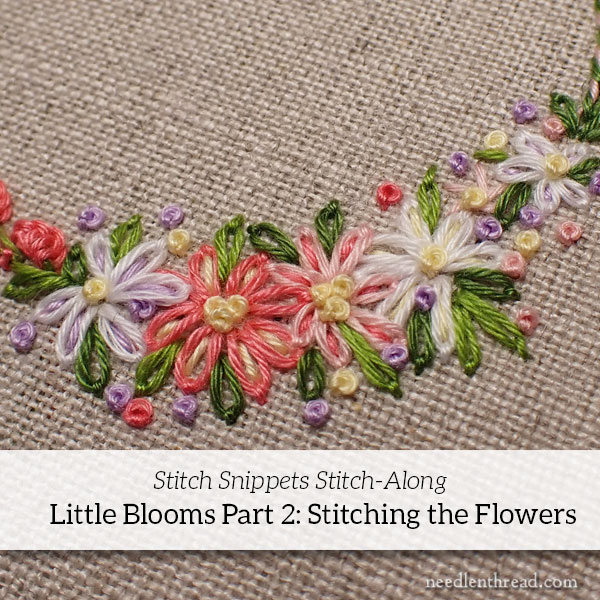
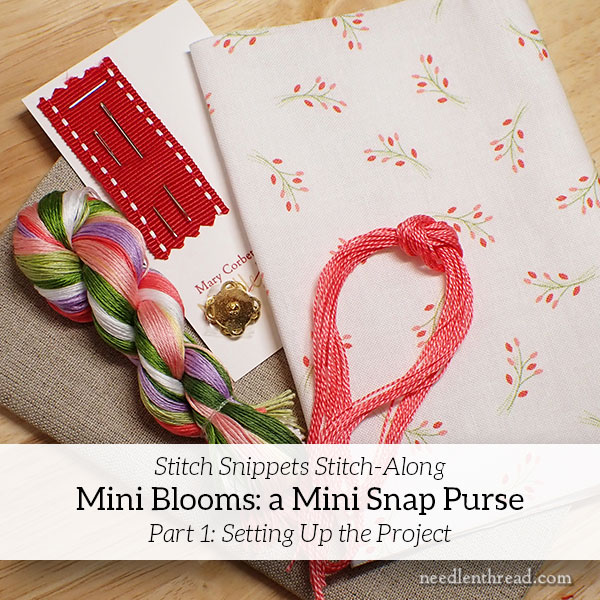
As promised, here is the Project Index for Little Blooms: A Mini Snap Purse, part of the Stitch Snippets series here on Needle ‘n Thread.
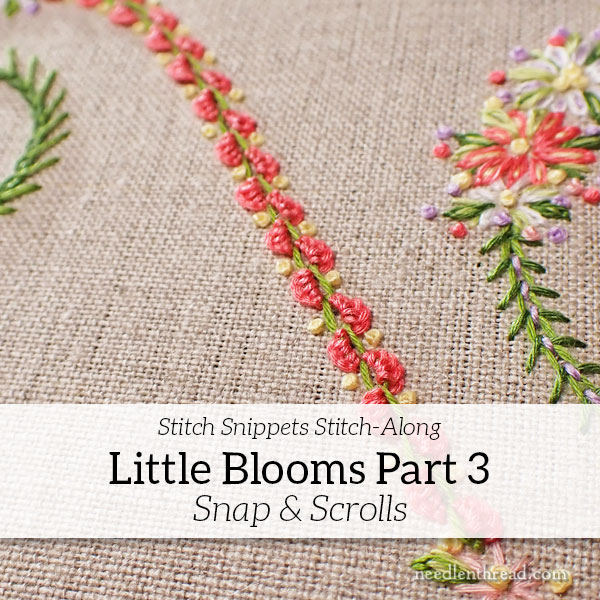
In this stitch-along, you’ll learn all the embroidery techniques and finishing techniques to create, at your leisure, your own beautiful little snap purse.
All the instructions will appear here on the blog until we’ve worked our way through the whole project. The instructions include the pattern and materials that I used, along with stitching tips and techniques.
All members of the Needle ‘n Thread community on Patreon ($1 / month or more) receive each lesson in a downloadable and printable PDF format. The PDF lessons also include extras, like step-by-step photo instructions for stitches used on the project. For Dedicated and Avid Stitchers on Patreon ($3 – #5 / month), supplemental video tutorials for different parts of the project are also available.
You are welcome to purchase a materials kit if you would like to use the same materials I used on my finished sample. The materials kits have sold out a couple times now, but we’ll restock them as we can. The next re-stock will most likely be mid-May. I’ll let you know when we have them ready!