April 26, 2024
Past Blasting: What the Bin Revealed
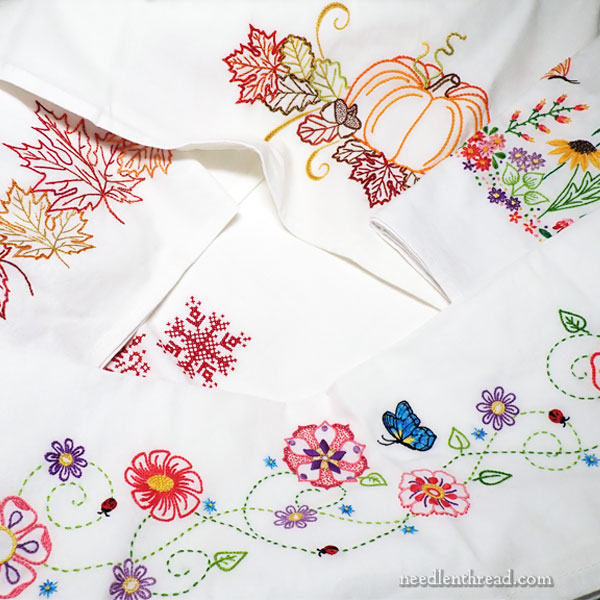
Some of the standard products that I’ve offered here on Needle ‘n Thread over the years are ready-to-stitch towel sets that I designed and stitched samples of, and then prepared as pre-printed cotton towels that you can stitch, too.
The idea behind them was to give you a variety of embroidery projects that you can let loose on, choosing your own colors and stitches to create something unique for you – but with the design part already taken care of.
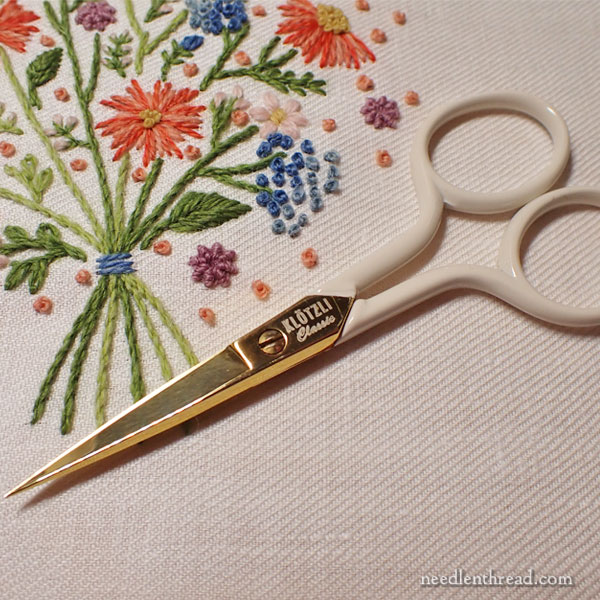
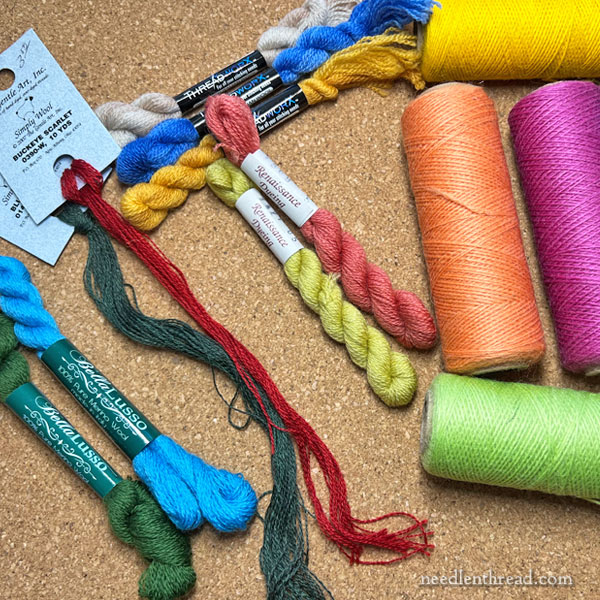
We’ve been working here in the studio on some related projects – for example, we’re preparing a couple all-inclusive kits with some of the designs – so we’ve had bins out that we’ve been foraging through for past examples of these stitched goods. While we’re putting together stitch guides and instructional material, it’s helpful to have a stitched sample front and center.
The weird thing is, I never realized just how many stitched samples I have floating around this place. We opened one bin…